Electron Recording Basics
CukeTest provides recording capabilities for Electron applications, translating your operations on the application interface into test scripts automatically, simplifying the creation of automated tests.
Quick Start: Record Your First Electron Script
Start recording in just a few simple steps:
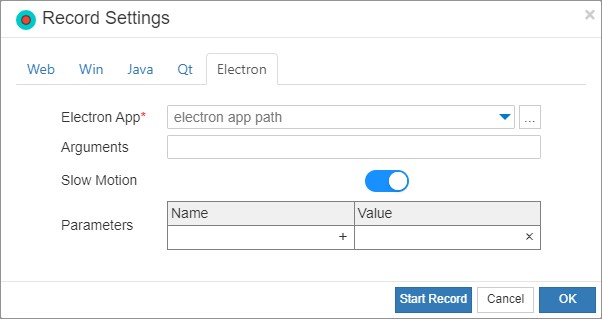
- On the CukeTest main interface, open the Recording Settings panel.
- In Application Type, select Electron.
- In the
Electron Application Pathfield, enter or select the full path of the Electron application executable (.exe) you want to test. Click Start Recording, and CukeTest will launch your application and prepare to record your actions.
Tip: Want to verify more advanced recording options? Please refer to our Electron Recording Settings documentation.
Adding Checkpoints During Recording
To ensure your application is in the correct state during testing, you can add checkpoints during recording to verify page elements.
What is a checkpoint? A checkpoint is used to verify whether the attributes of an element (such as text, button, image, etc.) match expectations during test execution. For example, verify if the "Welcome" text appears on the page after a successful login.
How to add?
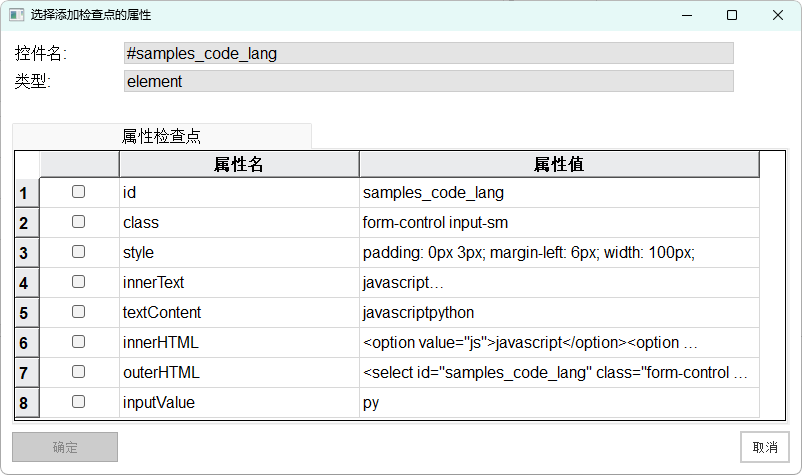
- On the recording toolbar, click the Add Checkpoint button.
- Move the mouse to the application interface and click the target element you want to verify.
- In the pop-up dialog, configure the attributes you want to check (e.g., text content of the element, existence, etc.).
For a detailed introduction to the checkpoint dialog, please refer to Adding Checkpoints During Recording.
Handling Native UI: Hybrid Recording Strategy
CukeTest's Electron recorder focuses on the Web View content within the application, which is the core of Electron applications. However, certain native operating system-level interactions cannot be recorded directly in this mode.
What Electron Recorder can do:
- Click, input, hover, and all operations within the application's main window (Web content).
What Electron Recorder cannot directly record:
- Top-level application menus (e.g., "File", "Edit" menus).
- Operating system file selection/save dialogs.
- System pop-up confirmation or prompt boxes.
Solution: Step-by-Step Recording and Script Integration
Since the Electron recorder and Windows recorder work differently, you need to record in steps and then manually integrate the generated code.
Recommended Workflow:
Step 1: Record Web View Operations
- Use Electron Recording mode to complete all operations in the application's main window.
- When the process reaches a point where interaction with Native UI is needed (e.g., after clicking an upload file button), stop recording and save the generated script.
Step 2: Independently Record Native UI Operations
- Return to CukeTest and start a New Recording, this time selecting Windows Application mode.
- In this recording, perform only the operations that could not be recorded in the previous step (e.g., selecting a file in the file dialog and confirming).
- Stop recording and save this script containing only native operations.
Step 3: Manually Integrate Scripts
- Now you have two script files: one for Web operations and one for Native UI operations.
- Open both script files, copy and paste the code lines generated by the Windows recording into the exact location in the first (Electron) script where these native operations need to be executed.
In this way, you can create automated test scripts that cover complete user scenarios from Web views to native windows.
To learn how to record native desktop operations, please visit Windows Recording Options.