Adding Checkpoints During Recording
When recording automated scripts, you can easily add property or image verification scripts for controls. Simply hold Ctrl or Alt and right-click on a control to open the checkpoint addition panel.
Property Checkpoints
When the panel opens, it displays the basic information and current property values of the selected control. By checking the properties you want to verify and clicking "OK," the corresponding checkpoints will be automatically generated and inserted into your script. These property values are treated as the expected values for subsequent automated verification.
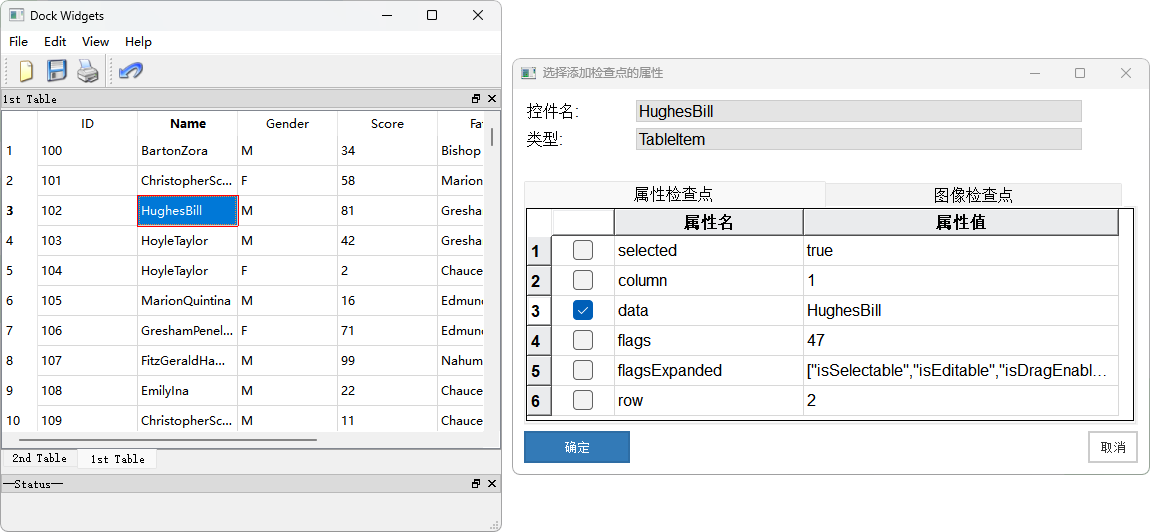
await modelWin.getDocument("Text Editor").checkProperty("name", "Text Editor");modelWin.getDocument("Text Editor").checkProperty("name", "Text Editor")Additionally, the Model Manager also provides a feature to add checkpoints. For more information, see Copy Checkpoint Code.
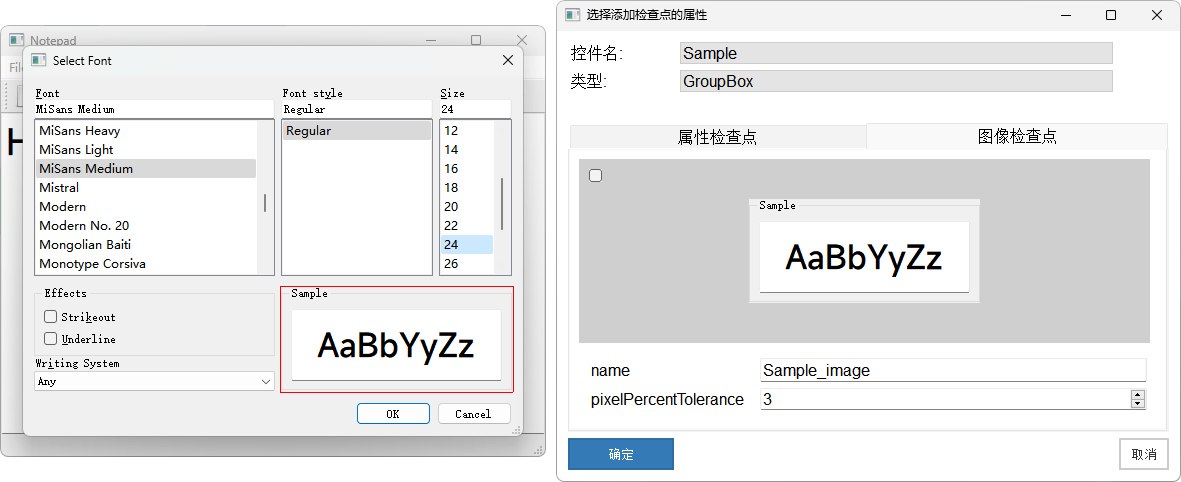
Image Checkpoints
The image checkpoint dialog displays the current screenshot of the control. In this panel, you can check and adjust parameters for the image checkpoint, such as tolerance, and then click "OK." The corresponding image checkpoint will be added to the script. The control's image information is also saved in the model file for future use.
await modelQt.getVirtual("button_image").checkImage({
    pixelPercentTolerance: 1
})model.getVirtual("button_image").checkImage({
"pixelPercentTolerance": 1
})The checkImage() method supports multiple parameter configurations, making tests more flexible and precise. For more details, refer to Virtual.checkImage() Method Introduction.
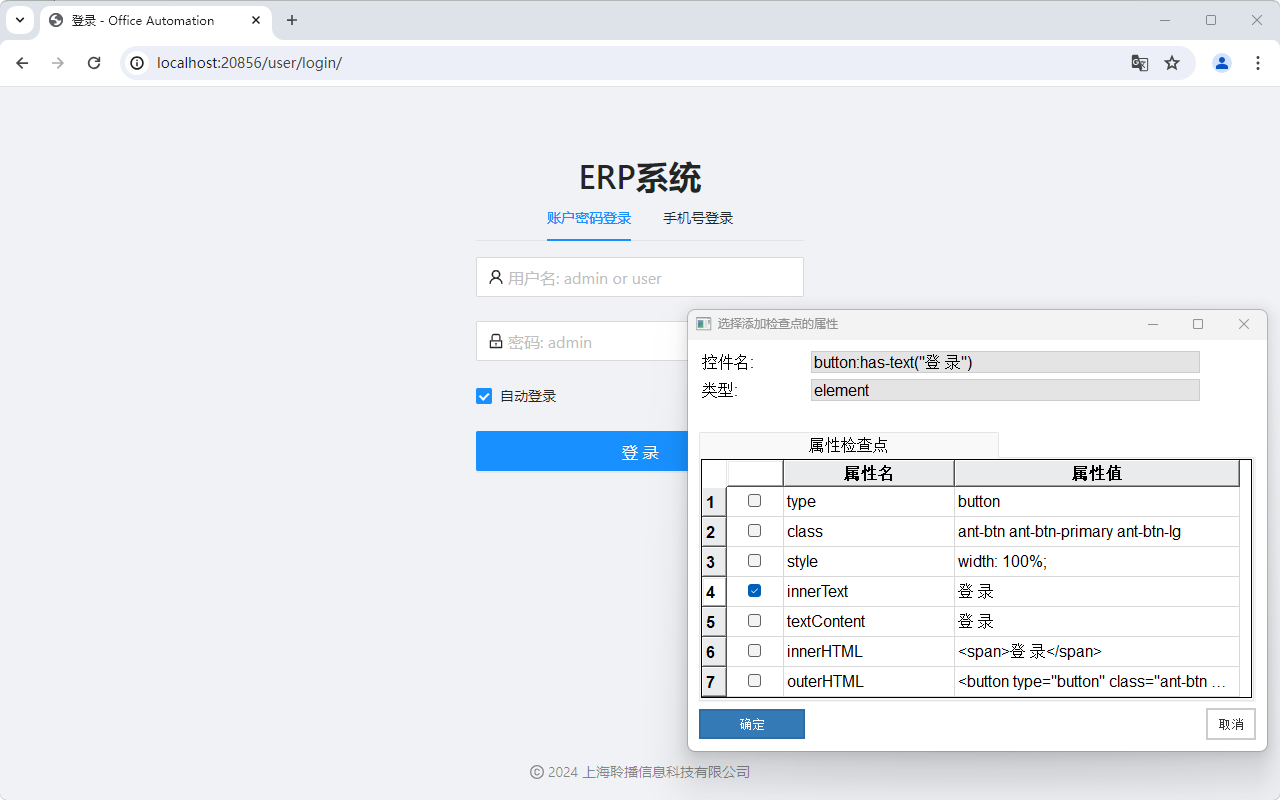
Web and Electron Element Property Verification
When recording Web automation scripts, you can add checkpoints for Web elements. The method is similar to property checkpoints and can check attributes obtained via getAttribute(), as well as innerHTML, outerHTML, and more. Web element checkpoints can also be used when recording Electron applications.
Steps
- Click the green
Checkpointbutton on the recording toolbar to open the checkpoint dialog.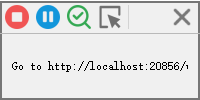
- Select the element to check on the webpage or Electron application.
- In the property dialog that opens, select the properties you want to check.
- Click "OK" and the corresponding checkpoint code will be automatically generated and inserted into your script.
let element = await page.$("button:has-text(\"登 录\")");
assert.equal(await element.innerText(), "登 录");
element = page.query_selector("button:has-text(\"登 录\")")
assert element.inner_text() == "登 录"